is trying to
private chat with you.
How to Custom Color Your Dogs Using the CAM!
Started By
This tutorial is based on what you must do in Photoshop CS3. Photoshop or programs like it are an absolute neccessity for this. You must be able to work with layers! If you don't have an art program that would support this, an alternative is to find an artist who does and ask/commission them for help.
First, you will need to save a bare lineart file and one base file, provided below, for the breed you intend to color.
Linearts:
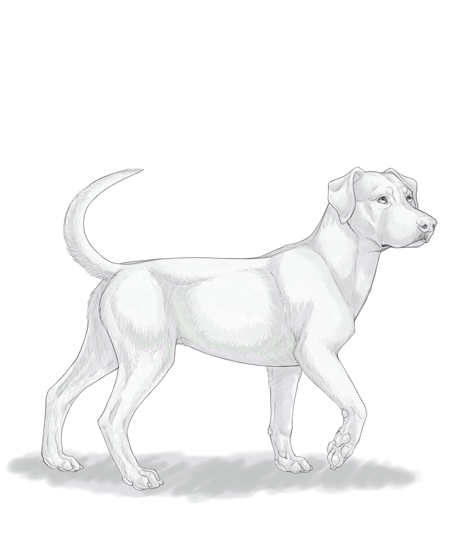
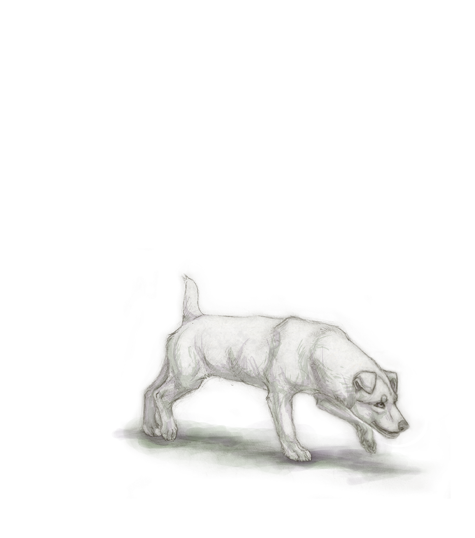
Catahoula Cur
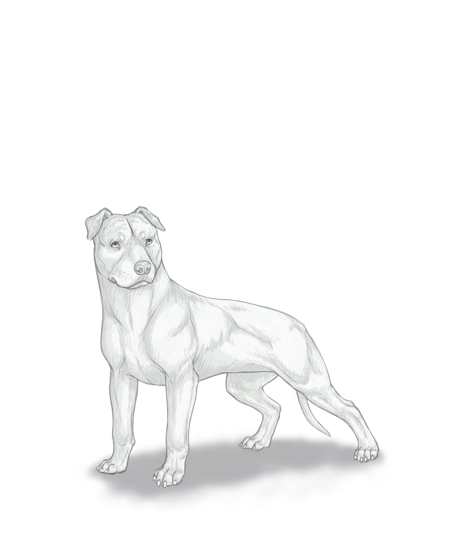
Cropped Pit Bull
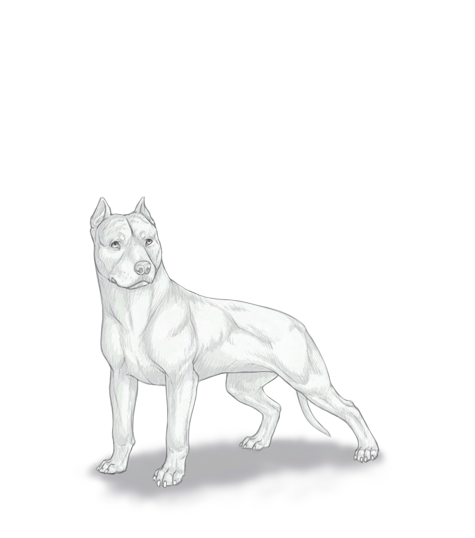
Natural Pit Bull
Docked Aussie
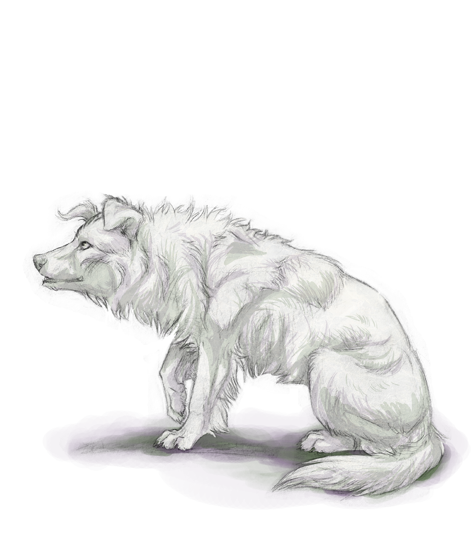
Normal Aussie
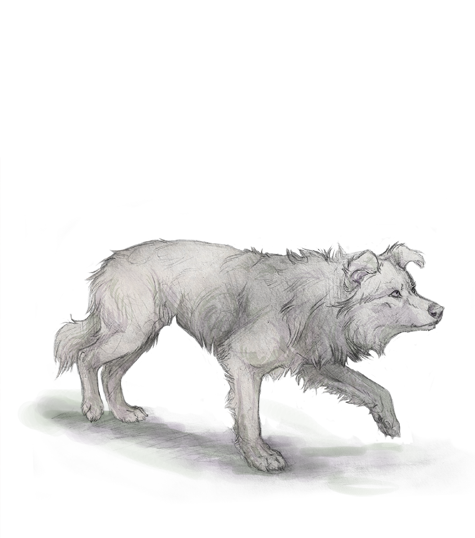
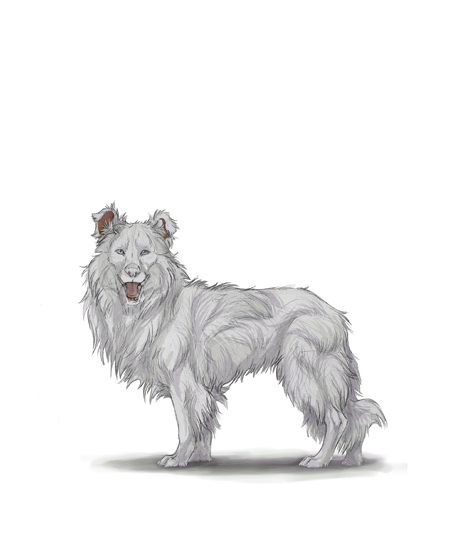
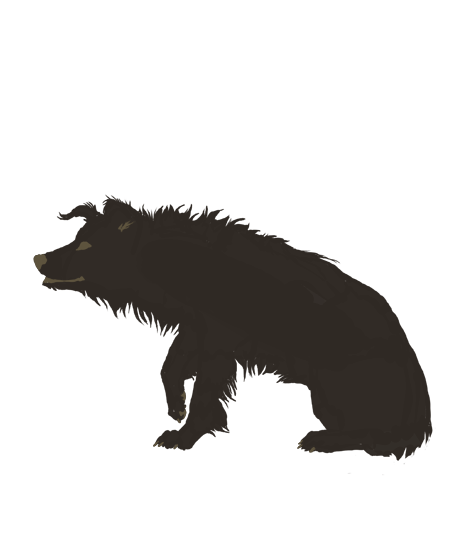
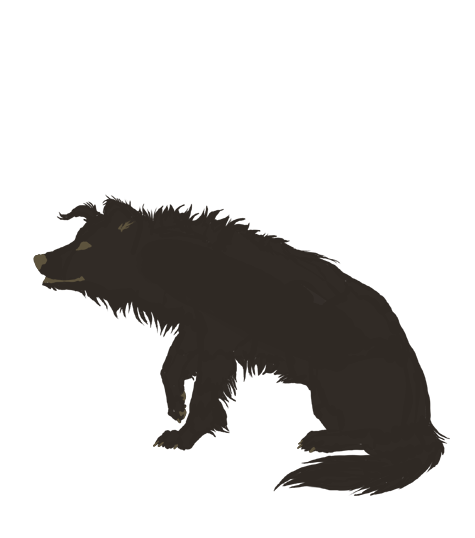
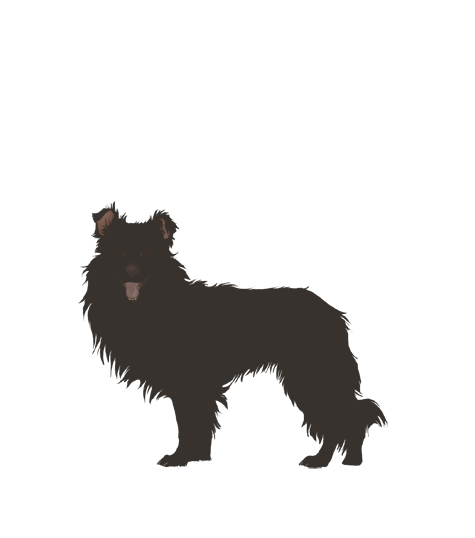
Border Collie
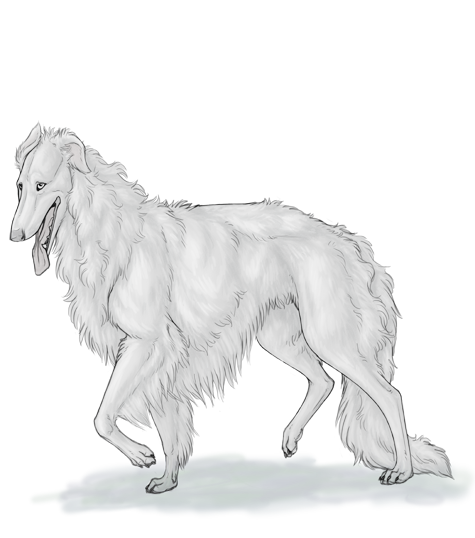
Borzoi
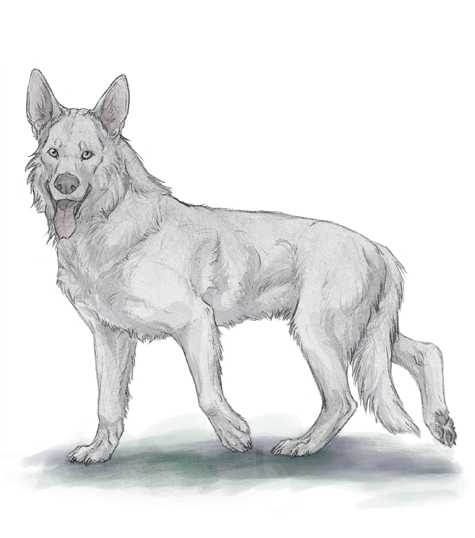
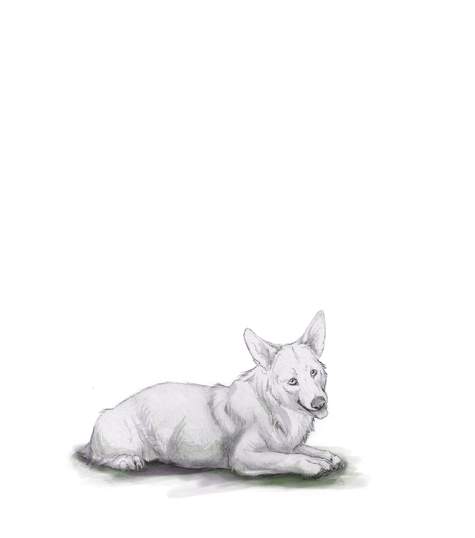
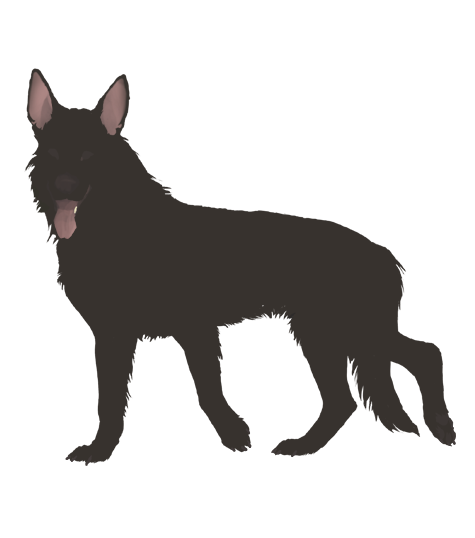
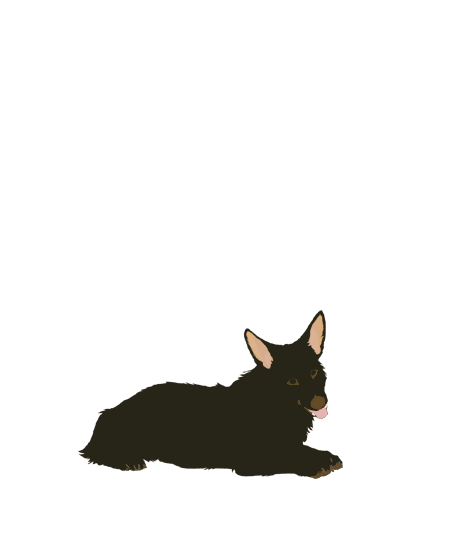
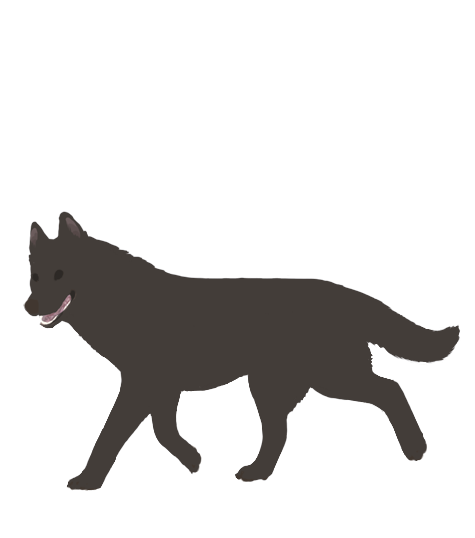
German Shepherd
Jack Russell Terrier
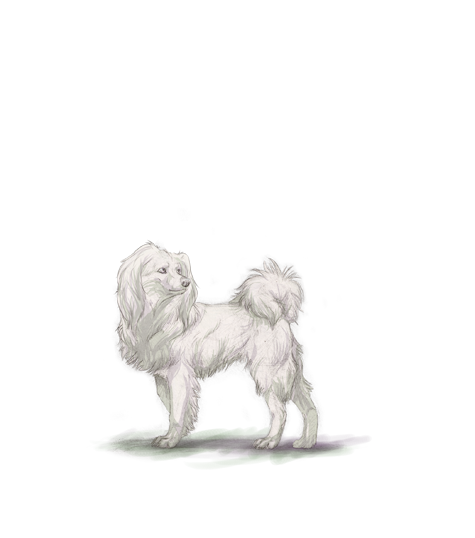
Firm Eared Papillon
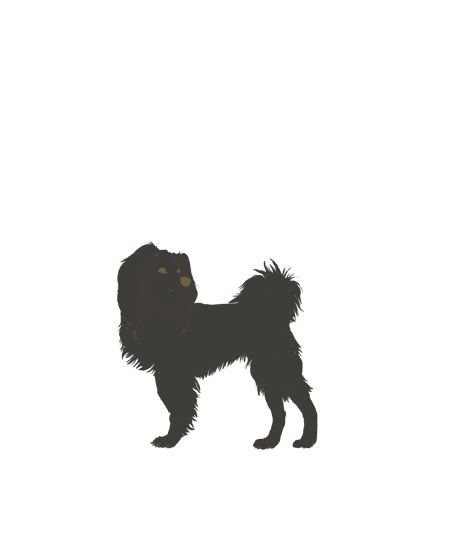
Floppy Eared Papillon
Pembroke Welsh Corgi
Shetland Sheepdog
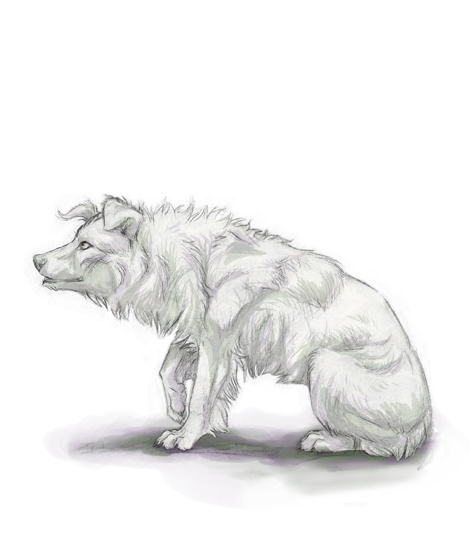
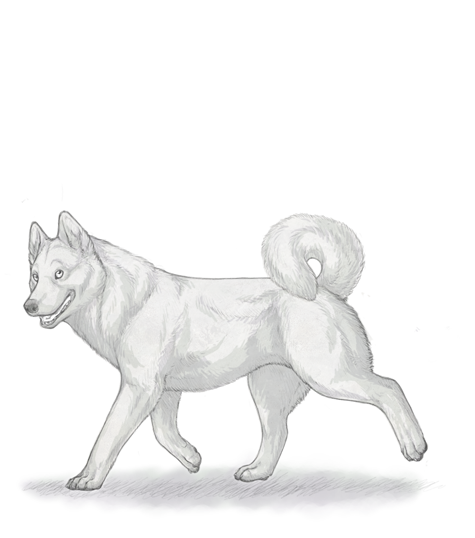
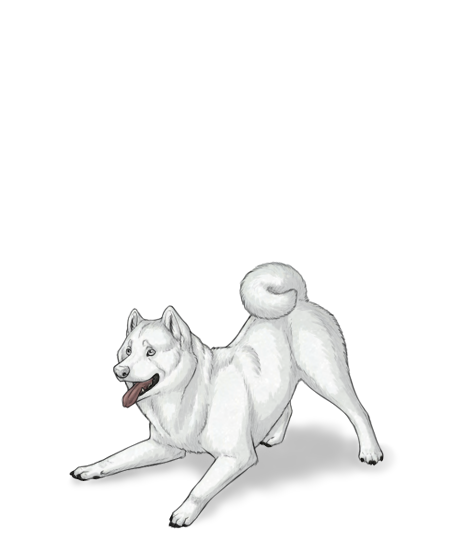
Curly Tailed Siberian Husky
Shiba Inu
Straight Tailed Siberian Husky
Bases:
Catahoula Cur
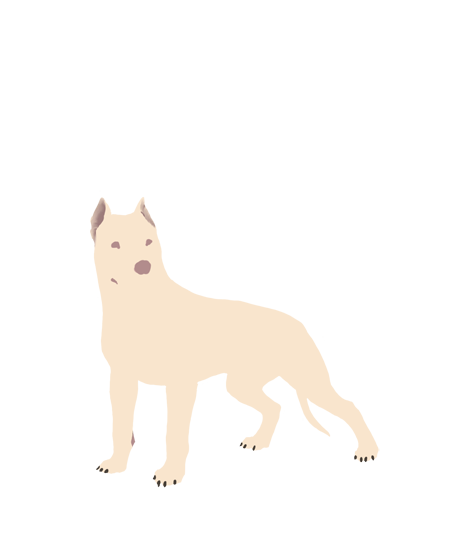
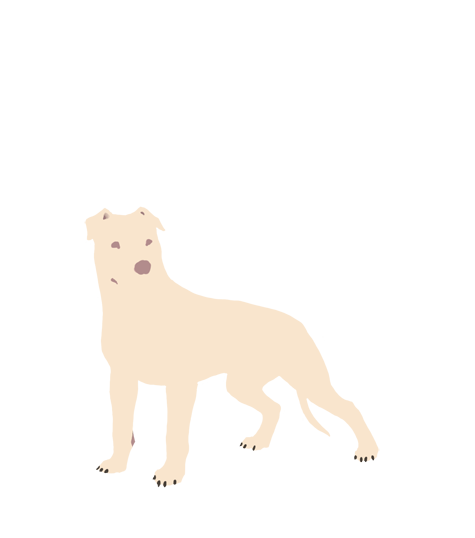
Cropped Pit Bull
Natural Pit Bull
Docked Aussie
Normal Aussie
Border Collie
Borzoi
German Shepherd
Jack Russell Terrier
Firm Eared Papillon
Floppy Eared Papillon
Pembroke Welsh Corgi
Shetland Sheepdog
Curly Tailed Siberian Husky
Shiba Inu
Straight Tailed Siberian Husky
Next, right-click and save an on-site picture of the breed you're going to be coloring. You will be using this as your background, to help make sure things are lined up properly.
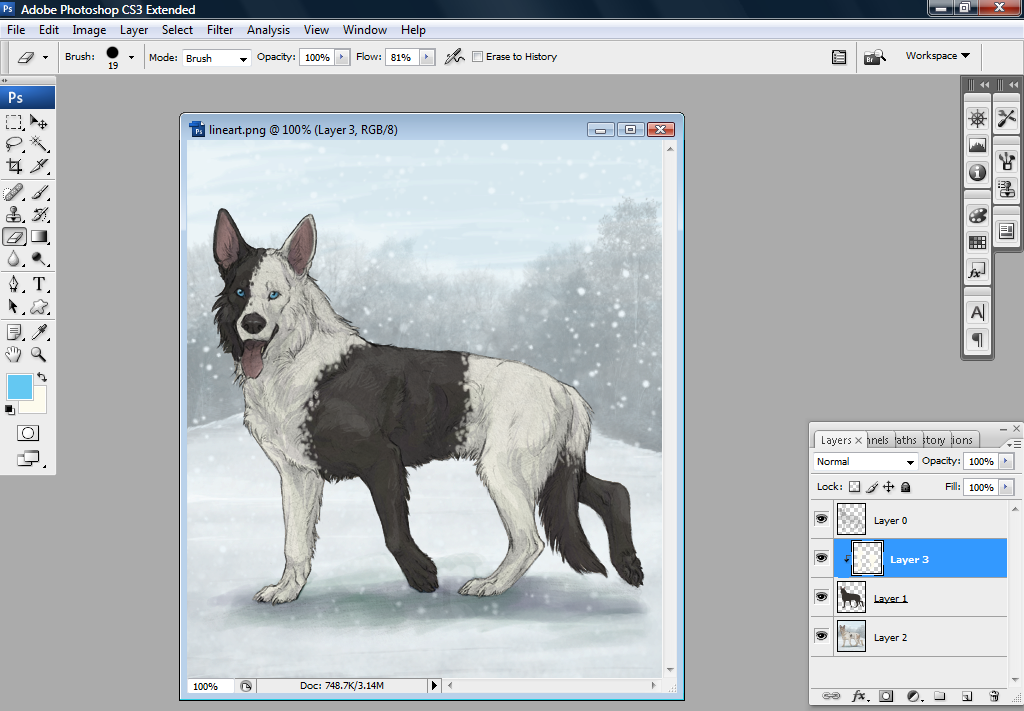
Now open all of these files in Photoshop (or other art program). Start with your bare lineart file, and follow these steps:
1. Go to your base color file and Select > Select All, then Edit > Copy.
2. Go to your lineart file, Edit > Paste, and put the pasted base layer underneath your lineart.
3. Go to your background file and repeat step 2, and move the background layer to the very bottom.
4. Adjust your base color layer as needed to line it up. DO NOT ADJUST THE LINEART LAYER, it is already aligned.
5. Select your base color layer. Using the Magic Wand Tool, select the space outside of the base color.
6. Keeping this space selected, click your lineart layer to make it the active layer. Use the Eraser to remove the ground shadow. You must do this, or your ground shadows will look much too thick and dark when in use, and keeping this space selected will prevent you from erasing too much lineart. Go to Select > Deselect when you're done.
7. Select your base color layer and Create New Layer above it. Right click the new layer and select Create Clipping Mask. This new layer is what you will be coloring on, and it is now locked onto your base color layer, which will prevent you from going outside the lines.
8. Color your dog! You can use more Clipping Mask layers as needed.
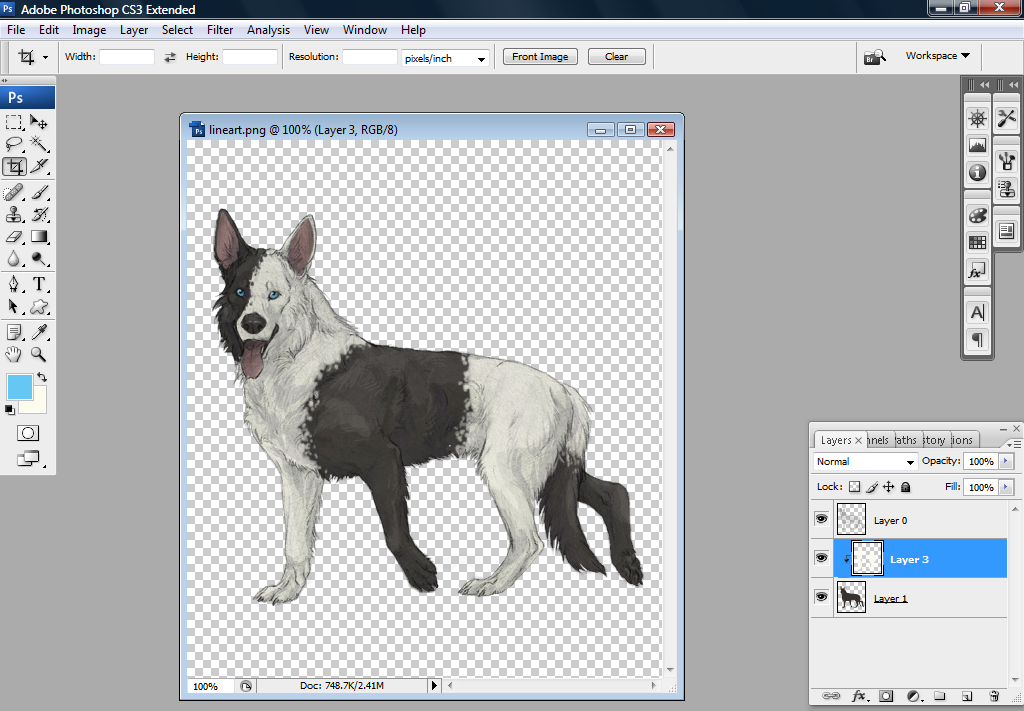
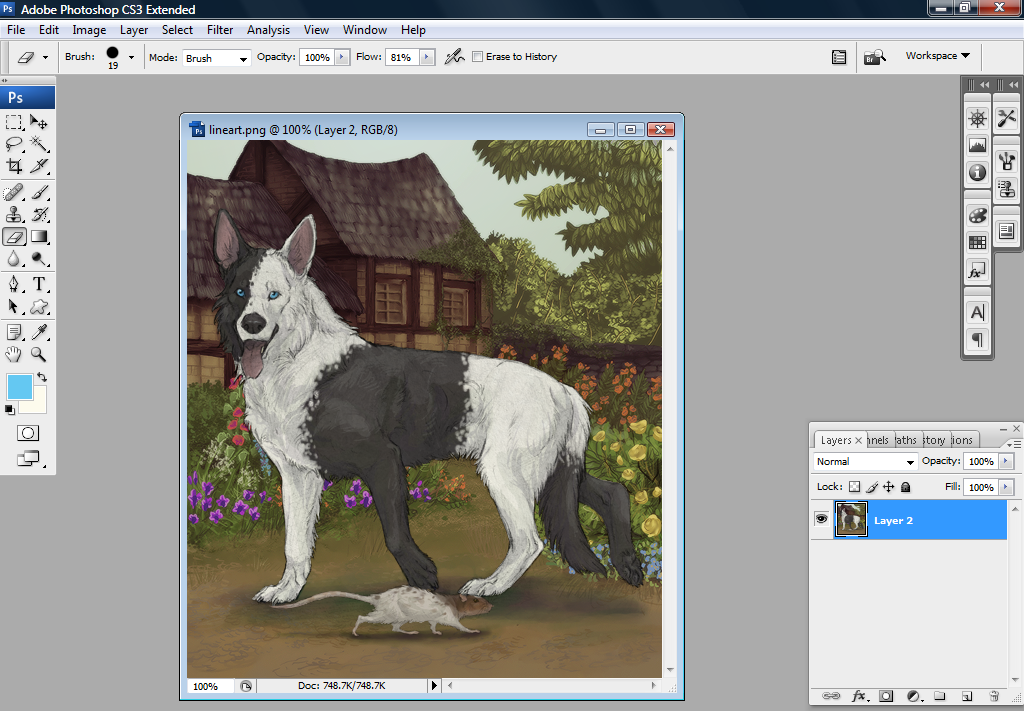
Your workspace should look similar to this.
When you're finished, delete your background layer so that only your lineart, base color, and clipping mask layers are showing. You should see the white and grey checkered transparency around them, like this.
Now, go to Layer > Merge Visible, and wha-la! You now have a custom colored dog! Save this file as a .png, make a 100x100 .png icon for your inventory, and then use your Custom Accessory Maker!
And there you have it! :D I hope this is helpful for everyone, and proves to be a fun new way to use the Custom Accessory Maker! Hats off to Eireann who made a suggestion for custom dyes and sparked this idea. :}
First, you will need to save a bare lineart file and one base file, provided below, for the breed you intend to color.
Linearts:
Catahoula Cur
Cropped Pit Bull
Natural Pit Bull
Docked Aussie
Normal Aussie
Border Collie
Borzoi
German Shepherd
Jack Russell Terrier
Firm Eared Papillon
Floppy Eared Papillon
Pembroke Welsh Corgi
Shetland Sheepdog
Curly Tailed Siberian Husky
Shiba Inu
Straight Tailed Siberian Husky
Bases:
Catahoula Cur
Cropped Pit Bull
Natural Pit Bull
Docked Aussie
Normal Aussie
Border Collie
Borzoi
German Shepherd
Jack Russell Terrier
Firm Eared Papillon
Floppy Eared Papillon
Pembroke Welsh Corgi
Shetland Sheepdog
Curly Tailed Siberian Husky
Shiba Inu
Straight Tailed Siberian Husky
Next, right-click and save an on-site picture of the breed you're going to be coloring. You will be using this as your background, to help make sure things are lined up properly.
Now open all of these files in Photoshop (or other art program). Start with your bare lineart file, and follow these steps:
1. Go to your base color file and Select > Select All, then Edit > Copy.
2. Go to your lineart file, Edit > Paste, and put the pasted base layer underneath your lineart.
3. Go to your background file and repeat step 2, and move the background layer to the very bottom.
4. Adjust your base color layer as needed to line it up. DO NOT ADJUST THE LINEART LAYER, it is already aligned.
5. Select your base color layer. Using the Magic Wand Tool, select the space outside of the base color.
6. Keeping this space selected, click your lineart layer to make it the active layer. Use the Eraser to remove the ground shadow. You must do this, or your ground shadows will look much too thick and dark when in use, and keeping this space selected will prevent you from erasing too much lineart. Go to Select > Deselect when you're done.
7. Select your base color layer and Create New Layer above it. Right click the new layer and select Create Clipping Mask. This new layer is what you will be coloring on, and it is now locked onto your base color layer, which will prevent you from going outside the lines.
8. Color your dog! You can use more Clipping Mask layers as needed.
Your workspace should look similar to this.
When you're finished, delete your background layer so that only your lineart, base color, and clipping mask layers are showing. You should see the white and grey checkered transparency around them, like this.
Now, go to Layer > Merge Visible, and wha-la! You now have a custom colored dog! Save this file as a .png, make a 100x100 .png icon for your inventory, and then use your Custom Accessory Maker!
And there you have it! :D I hope this is helpful for everyone, and proves to be a fun new way to use the Custom Accessory Maker! Hats off to Eireann who made a suggestion for custom dyes and sparked this idea. :}
bessie2 (#27583)
profile
message
12-9-2012 at 4:36 PM
Thanks so much! I doubt we would be able to, but is it against the rules to sell these as adoptables? (Probably not but just wondering!) (:
Rainwolfeh| r.i.p. Lennox + Schoep (#16354)
profile
message
10-13-2012 at 12:18 PM
Will puppy linearts ever be available for coloration? c8
Vision (#9146)
profile
message
04-6-2012 at 9:24 PM
<img src=http://i1204.photobucket.com/albums/bb416/Beautiful-Vision/Cho.png><br /> <br /> Messing around with the BCs so I can practice using photoshop. I named her Cho.

Carnivale (#6)
profile
message
12-15-2011 at 10:02 AM
Catahoula files have been added.

Steaks (#5484)
profile
message
11-13-2011 at 7:19 PM
cRainberreh, I don't think you can edit lineart because this is just re-colouring the colour of your dog. It wouldn't affect the dog's image/lines itself [I believe]
Pelottava (#1395)
profile
message
11-13-2011 at 5:58 PM
rubeusbeaky, it would just be an item that goes over your dog. So you could remove it just like any other item and she'd go back to her regular color :)
rubeusbeaky (#19403)
profile
message
11-13-2011 at 12:42 PM
I made one for Tonks<br /> <img src=http://img.photobucket.com/albums/v149/Monte_0290/tonks.png alt= /><br /> But I am scared to upload it. Would my customization be irreversible? What if I want to revert her to her old, naturally-bred look?
Rainwolfeh| r.i.p. Lennox + Schoep (#16354)
profile
message
11-12-2011 at 6:59 PM
Are we allowed to edit the linearts slightly? C:
Steaks (#5484)
profile
message
10-13-2011 at 2:44 AM
I made these for fun :)<br /> <br /> <img src="http://i56.tinypic.com/o7r6o5.png"> <br /> <img src="http://i52.tinypic.com/2sbtw5g.png"> <br /> <img src="http://i54.tinypic.com/jjmotw.png">
Nals (#11652)
profile
message
09-11-2011 at 10:12 AM
:eats double posts: Good thin I checked in here again~ xD<br /> <br /> Can you put up the puppy lines, Carni? :3
Carnivale (#6)
profile
message
09-1-2011 at 12:09 AM
Aust, the pit bull lineart has been there for a while now, at the top of the lists :P
Aust (#9721)
profile
message
07-27-2011 at 12:43 AM
Are you going to post the Pitbull lineart?
Aust (#9721)
profile
message
07-27-2011 at 12:42 AM
Are you going to post the Pitbull lineart?
Nals (#11652)
profile
message
07-18-2011 at 2:07 PM
:eats MajorAlphaGirl's double post: >:D I am still the [Un]Official Double Post Eater. :evil laugh:<br /> <br /> Thanks for the lines and bases, Carni! <3 So amazing~
Carnivale (#6)
profile
message
07-18-2011 at 3:08 AM
Julzy - These are CA's, so you can submit them yourself like normal. :}
Ä´Ê‹â„“Ê“ÊҒσϰ~♥ ≈ Ƭнɛ ΔℓÏнα Ғσϰ (#10279)
profile
message
07-17-2011 at 8:15 AM
Anyone have any examples besides Carni's? I'd love to see them to see if I'd like to work on one >:3<br /> <br /> Just to get it right, Carni, these are CA's for ourselves, right? Or are they dye ideas to submit to the staff..?
Caliber | The Emo Sibie (#9914)
profile
message
07-6-2011 at 5:44 PM
Some advice-Im not sure if this is how to spell it but Phailine is the papillon word for floppy-eared.It's pronounced FAY-LENE.
MajorAlphaGirl (#15740)
profile
message
07-4-2011 at 4:33 AM
Thank you!!<br /> <br /> ---------------------------------------<br /> <br /> Try out FooPets.com!
MajorAlphaGirl (#15740)
profile
message
07-4-2011 at 4:33 AM
Thank you!!<br /> <br /> ---------------------------------------<br /> <br /> Try out FooPets.com!
Kitsune » Blonde Fox (#12911)
profile
message
06-29-2011 at 12:00 AM
Thanks for the instructions Carni!